

Imagine standing under a starry sky, with waves of vibrant colors dancing across the horizon. The northern lights, or aurora borealis, captivate many with their mesmerizing beauty. Drawing these ethereal lights can seem challenging, but fear not. With the right approach, anyone can create a stunning representation. Whether you’re an experienced artist or just starting, this guide offers tips and techniques to help bring your vision to life. Grab your sketchbook, and let’s jump into the enchanting world of the northern lights.
Understanding the Northern Lights
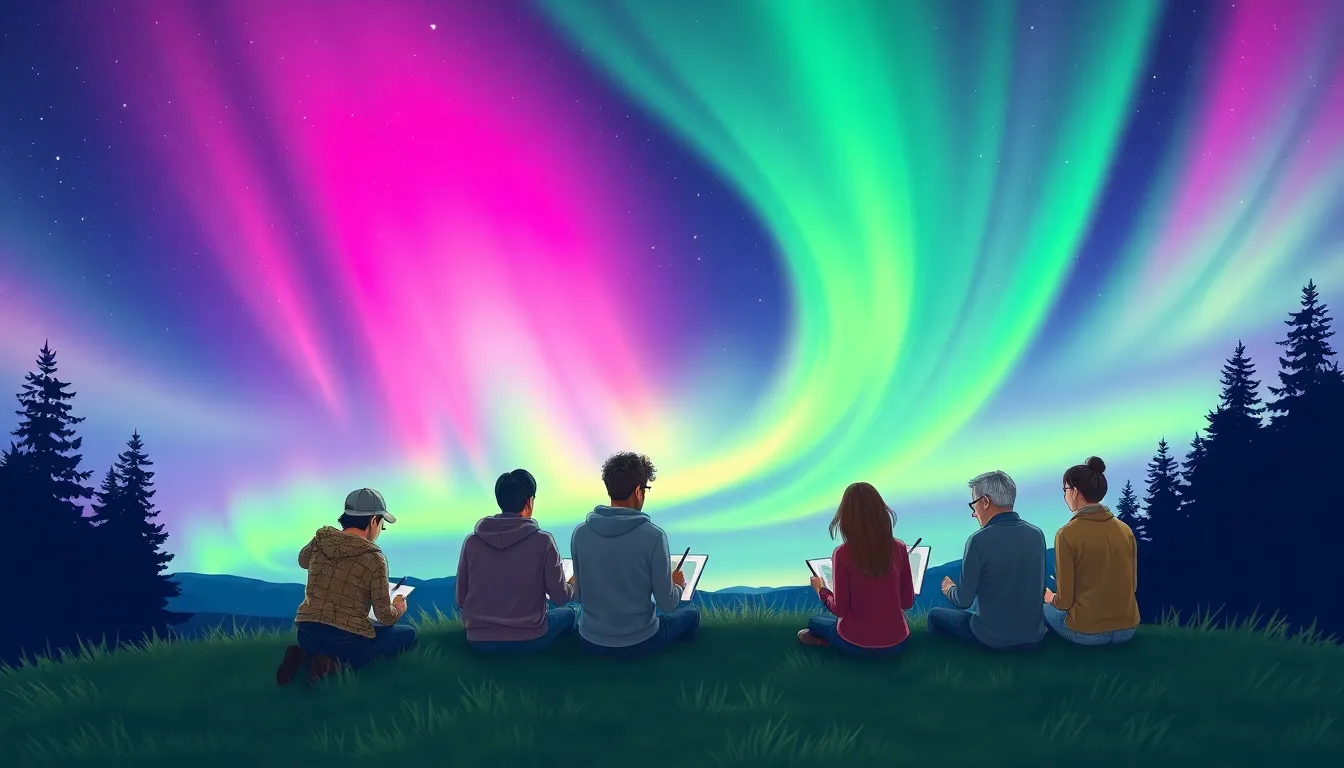
Before putting pencil to paper, it makes sense to understand what you’re trying to capture. The northern lights occur when charged particles from the sun collide with gases in Earth’s atmosphere. This phenomenon produces glowing colors, primarily greens, pinks, and purples, creating a breathtaking display in the sky. The shapes and movements of these lights can vary from serene arcs to dynamic swirls. Observing real-life displays or photographs can help artists grasp how colors interact and form patterns. Taking a moment to appreciate these natural wonders will enhance your drawing experience.
Gathering Your Materials
To create an impressive drawing of the northern lights, the right materials are essential. Start with quality drawing paper or canvas, as these will give your colors a vibrant base to shine. Opt for soft pastels, colored pencils, or watercolors depending on your preferred medium. Each offers unique textures and blending capabilities. Next, don’t forget about blending tools like cotton swabs, your fingers, or blending stumps. These will help smooth out transitions between colors, making your scene look more fluid. Finally, a good eraser can serve as a tool for highlights, adding depth and dimension to your artwork.
Choosing Your Color Palette
A compelling color palette is crucial for bringing the northern lights to life. Start by selecting a mix of vibrant hues that reflect the real-life phenomena. Greens, pinks, blues, and purples should dominate your palette. Consider using a mix of bright and muted shades to create layers of depth. For instance, a deep navy can serve as a backdrop, while a bright lime green can mimic the main auroral colors. Pay attention to how these colors blend: they should transition smoothly to mimic the natural flow of light. Choosing complementary colors will also enhance the overall vibrancy of your piece.
Sketching the Landscape
Before adding the northern lights, lay the foundations by sketching the landscape beneath. Use light pencil strokes to outline mountains, trees, or other elements typical to an aurora scene. Consider how these would frame the lights above, perhaps some tall trees reaching towards the sky or jagged peaks catching the glow. This creates a sense of depth and realism. Remember, the landscape tends to be darker, allowing the colors of the northern lights to pop against it. Don’t focus too much on details yet: this is your initial layer.
Drawing the Northern Lights
Now comes the fun part, drawing the northern lights. Begin with gentle curves that represent the lights’ movement. Use broad strokes for the base of the lights, then gradually build up layers of color. Start from the bottom of your drawing and work your way up to create the illusion of depth.
Techniques for Blending Colors
When layering colors, blending is essential. Apply the lightest colors first, this ensures the more vivid hues layer on top without overpowering them. Use your blending tools for smooth transitions. An essential technique is the flicking motion: this mimics the natural appearance of the lights. Experiment with various pressure levels: lighter pressure creates a softer look, while stroking harder might yield more defined edges.
Adding Details to Enhance Your Drawing
Once the basic structure of the northern lights is complete, it’s time to add details that elevate your art. Consider including small stars or a moon in the sky for added interest. Use a white gel pen or a finer paintbrush to dot these elements across your piece. You can also emphasize edges of the lights with brighter colors or even a touch of white to give the effect of glowing. Shadows in the landscape can heighten the contrast, making your auroras feel more illuminated and alive.
Final Touches and Presentation
The final touches can be the most impactful. Step back and evaluate your piece: does it evoke the feeling of standing under the northern lights? A final layer of blended color might be necessary to smooth out transitions. Once satisfied, think about how you’ll present your drawing. Framing it under glass can protect your artwork, while also highlighting the beauty of the colors. Sharing it on social media or participating in local art shows can bring your creation to a wider audience. Remember, it’s not just about the final product: the journey of creating can be just as rewarding.


